Skin Magic Not Working in Maya? Building a Python 3 Replacement
Skin Magic no longer works in current Maya because of Python 3. How I am rebuilding a skin weights tool from scratch for Maya 2025 and newer.
If you rig characters in Maya, you probably know Skin Magic. It made editing skin weights quick: select some vertices, see every influence, change the numbers, move on. Then Maya moved to Python 3, and the tool stopped working.
Skin Magic itself was based on the skinning tools in 3ds Max, which use a similar approach: a list of influences for the selected vertices, with numbers you set directly. That workflow is a big part of why Max riggers like it, and why I wanted it back in Maya.
I started to remake it. It is not released yet. This page is a look at what I learned, with frames from my development demo.
Why not just fix it?
The obvious plan was to port the old script to Python 3. I looked at it and decided against it:
- It had many Python 3 problems, not one or two, and each fix exposed another.
- It carried no license, so I could not build on its code.
So I treated it as a feature list and nothing more. I wrote the new tool from scratch, using Maya’s own modern API, and designed the parts around how rigging actually feels in Maya today.
What it does
Select vertices and you see every influence on them, with the weights. From there:
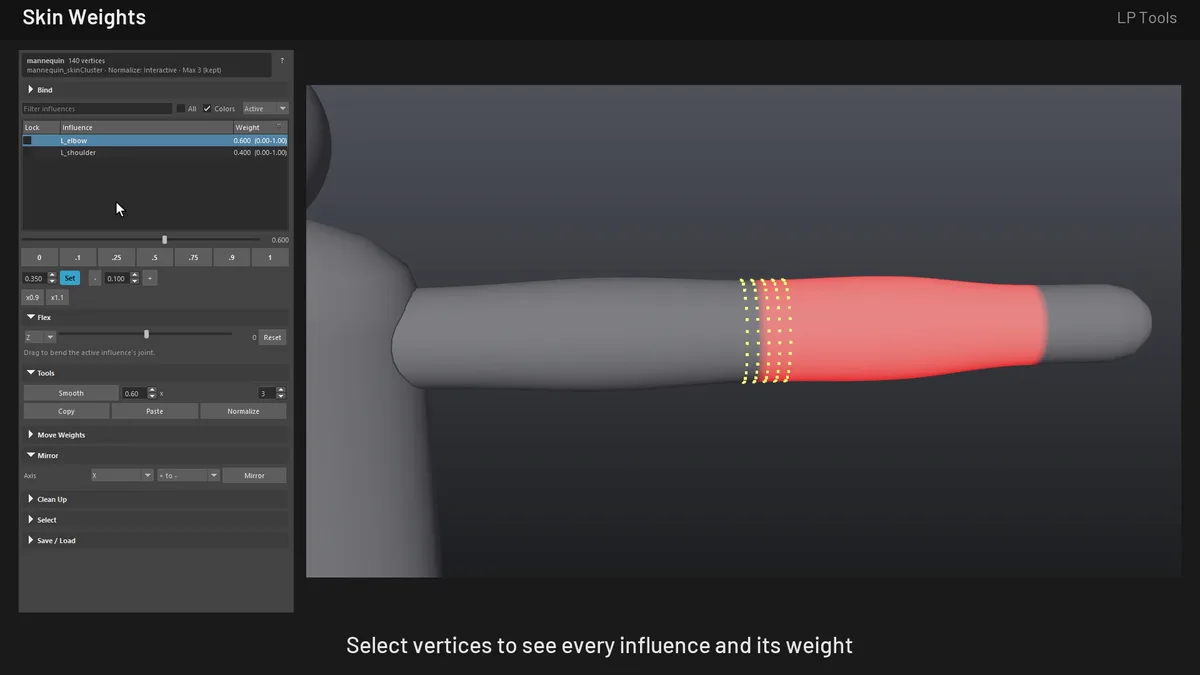
- Set, add or scale weights for the selected influence, with locks so a joint you have finished never changes.
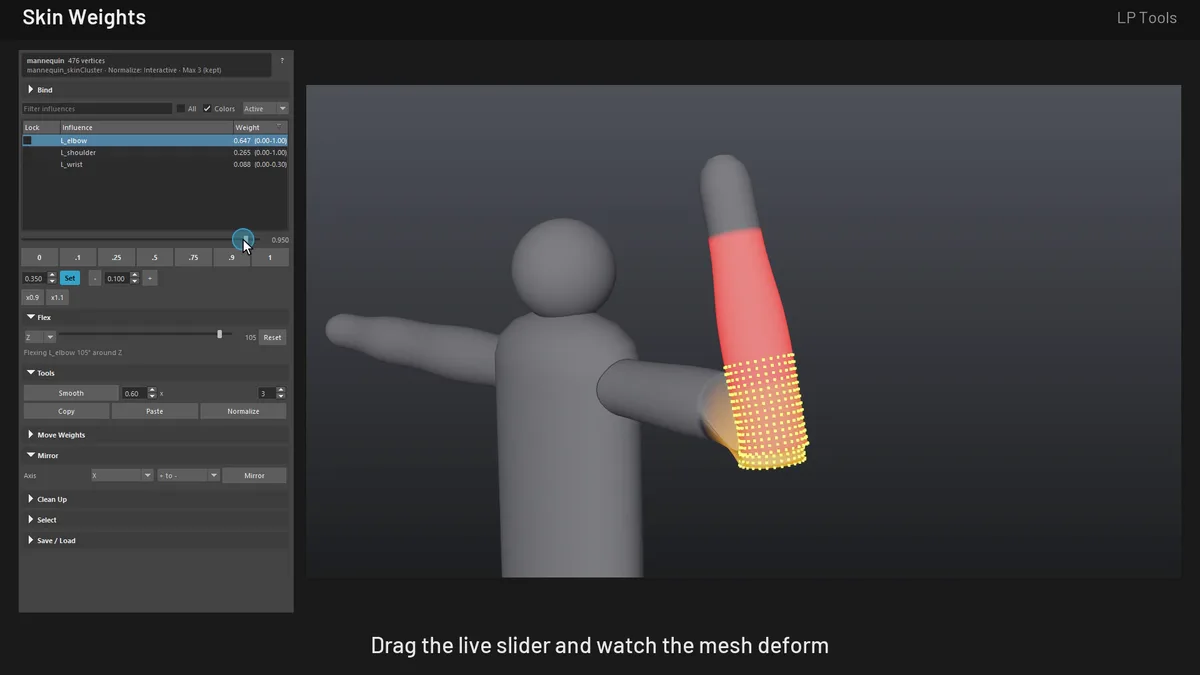
- Drag a live slider and watch the mesh deform as you move it.
- Smooth, copy, paste and normalize weights, and limit the number of influences per vertex.
- Mirror weights across the body.
- Bind a mesh without leaving the panel, using closest joint in the hierarchy, closest distance or heat map.
- Save and load weights as files.
Things that were harder than they look
Seeing the result without leaving the tool
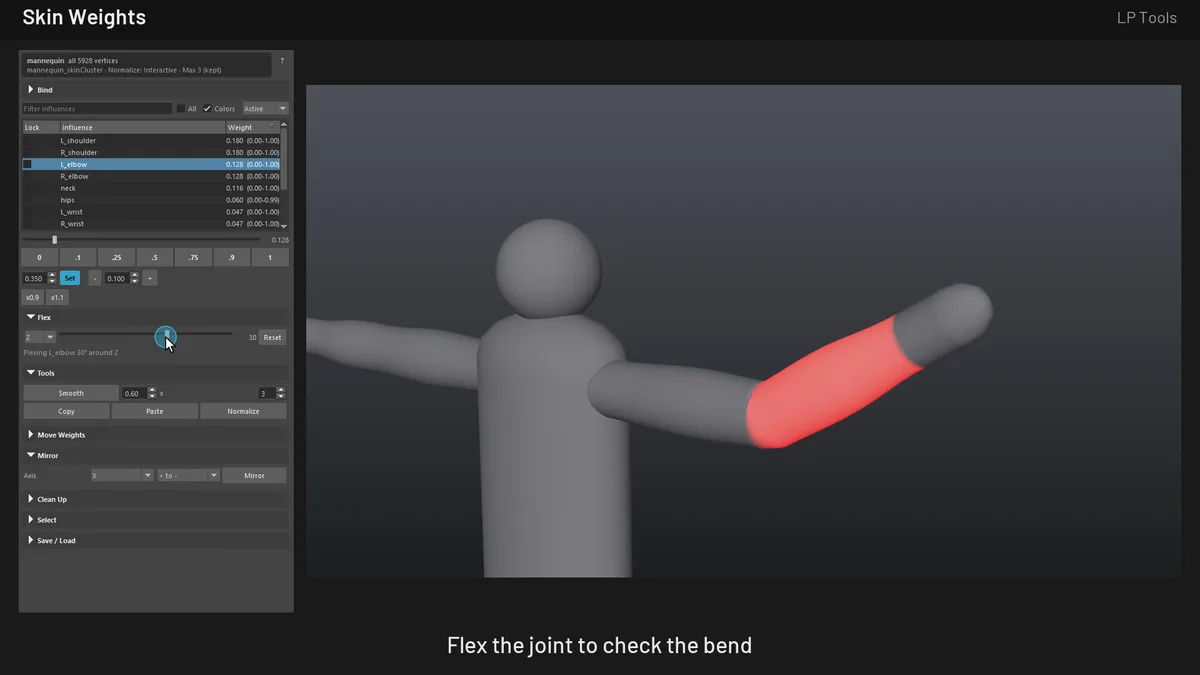
Weights are easy to read as numbers and hard to judge as numbers. The panel has a flex control that bends the selected joint so you can test a weight and then put the joint back. A bad weight shows up in a second instead of after you go back and forth between a pose and the weight editor.
Weight colors
I did not want to add color sets or any other data to your mesh just to show weights. Skin Weights draws its colors as a display-only overlay that is never saved into the scene. It shows one influence as a ramp, or every influence in its own hue, and follows every edit and pose.
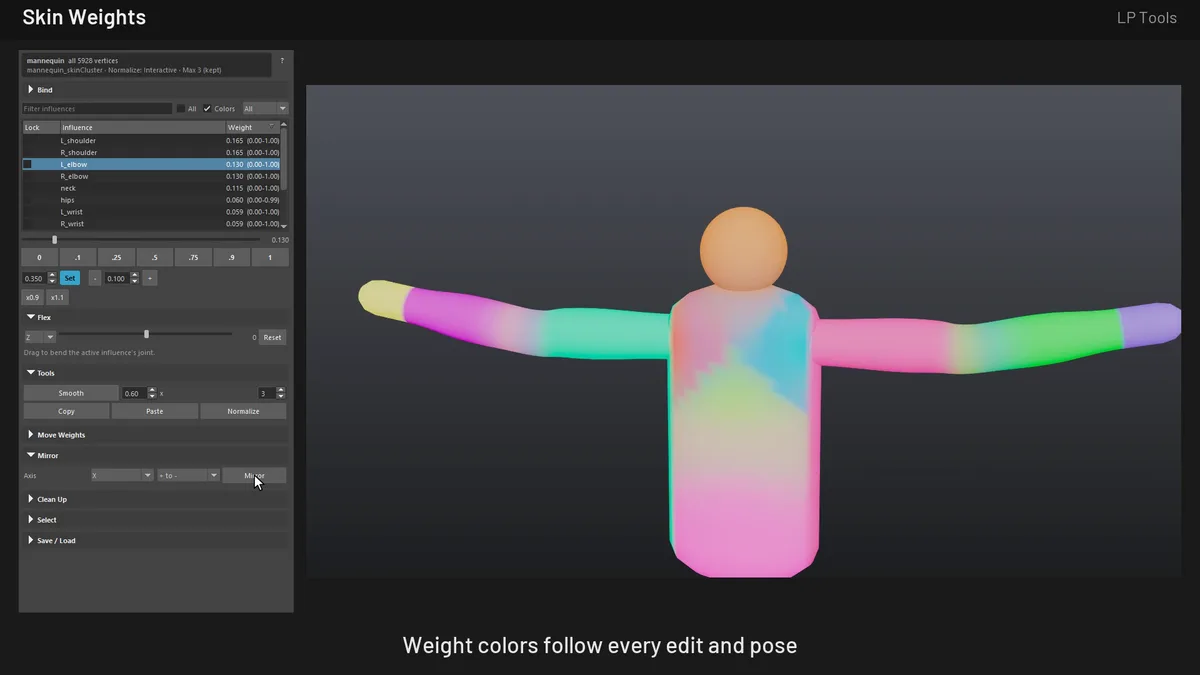
Getting that overlay to appear in the viewport and stay out of saved files, without marking your scene as changed, took more work than most of the editing features.
Weight rules people forget
Every operation has to obey the same rules, or the numbers drift:
- Locked influences never change, and the unlocked ones share what is left.
- Maximum influences is enforced after every edit.
- When the only unlocked weight on a vertex goes down, the rest goes to the closest unlocked joint instead of vanishing.
Mirroring
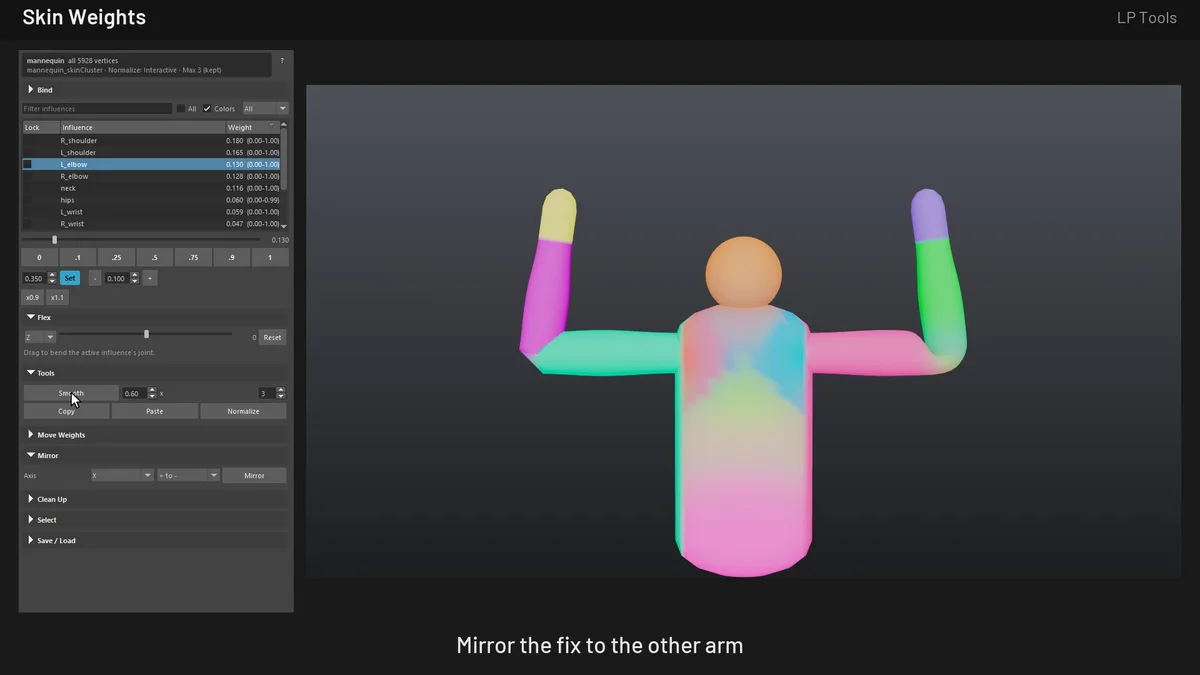
Mirroring weights sounds simple until the left and right joints are not named in a perfect pattern. It works in bind pose and pairs joints by name first, then by mirrored position as a fallback. It also warns you when vertices have no match.
Undo
A live slider writes weights many times a second, and you do not want fifty undo steps for one drag. The preview writes happen without undo, and a single undoable write lands at the end.
Where it stands
- Version 1.0.0 works in Maya 2025 and 2027, with automated tests passing in both.
- It is not released, there is no date, and nothing is listed yet. The name is provisional too.
- Next up are copying weights between different meshes by closest point and a quick way to select vertices that failed to mirror.
- I still want to try it on a real production rig. A mannequin is a good test but not the same as a full character.
- I deliberately skipped a paint tool and kept this about numbers, selection and speed.
I will update this page as it moves.
Related tool: Camera Toolkit for Maya. Everyday camera helpers for Maya in one window.